
Exporting a Live2D VTuber model correctly is just as important as rigging it well.
Many VTubers experience issues like:
- model lag in OBS
- blurry or pixelated avatars
- delayed expressions
- broken physics during streaming
- high CPU/GPU usage
Even with a perfect Live2D rig, wrong export settings can completely ruin stream performance.
This guide explains Live2D VTuber model export settings for OBS, why each setting matters, and how to export your model so it runs smooth, stable, and crisp inside OBS.
If you’re new to Live2D, start with vtuber model setup before adjusting export settings.
Why Live2D Export Settings Matter for OBS
OBS does not read Live2D models directly.
Your model must pass through:
- Live2D Cubism
- VTuber tracking software
- OBS capture pipeline
If export settings are wrong:
- OBS drops frames
- tracking becomes unstable
- physics calculations overload the system
👉 Related troubleshooting: vtuber obs dropped frames fix
How Live2D Models Are Used Inside OBS (Pipeline Overview)
Understanding the pipeline helps avoid mistakes:
Live2D Cubism → Tracking Software → OBS (Game/Window Capture)
OBS only sees the rendered output, not the model file itself.
That means:
- export resolution
- texture size
- physics complexity
- directly affect OBS performance.
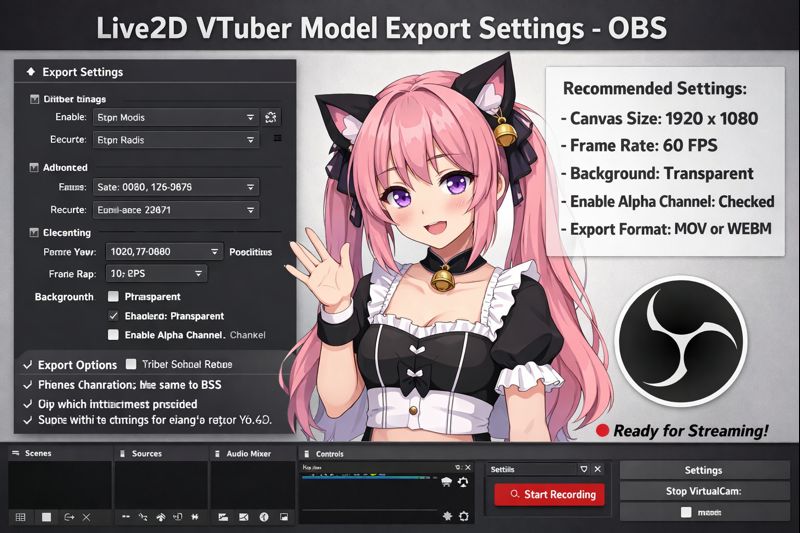
Best Live2D Model Export Settings for OBS (Recommended Defaults)
Recommended Export Profile (Safe for Most VTubers)
- Texture Atlas Size: 2048×2048
- Texture Compression: Enabled
- Physics FPS: 30
- Model Scale: 100%
- Blend Mode: Normal
- Background: Transparent
- File Format: .moc3
This setup balances quality + performance for OBS streaming.
Live2D Export Settings Explained (One by One)
1. Texture Atlas Size (Most Important Setting)
High-resolution textures look good—but kill performance.
Recommended:
- Small models: 1024×1024
- Standard VTuber: 2048×2048
- Advanced / detailed: 4096×4096 (only if hardware allows)
Too large:
- causes OBS lag
- increases VRAM usage
- leads to dropped frames
👉 Internal link: vtuber low fps fix
2. Texture Compression (Always Enable)
Compression:
- reduces memory usage
- speeds up rendering
- has minimal visual impact
Never disable compression unless testing art quality.
3. Physics FPS Settings
Physics are recalculated every frame.
- 60 FPS physics = smoother but heavier
- 30 FPS physics = ideal for streaming
Best practice:
Set physics to 30 FPS, let OBS handle visual smoothness.
👉 Related: live2d vtuber model physics settings explained
4. Model Scale and Canvas Size
Export at native resolution.
Do NOT:
- upscale inside OBS
- export tiny then enlarge
Scaling inside OBS increases GPU load and blurs edges.
5. Transparency and Background Settings
Always export with:
- Transparent background
- No baked color backgrounds
This ensures:
- clean OBS compositing
- proper chroma-free overlay
Common Export Mistakes That Break OBS Performance
Mistake 1: Exporting at Maximum Texture Size “Just in Case”
This causes:
- VRAM spikes
- stuttering
- delayed tracking
Bigger is not better.
Mistake 2: Too Many Physics Groups
Physics groups multiply CPU usage.
Keep physics only on:
- hair
- accessories
- clothing (limited)
Avoid physics on:
- eyelids
- mouth
- facial core movement
👉 Related guide: live2d vtuber model mistakes
Mistake 3: Testing Only in Preview, Not OBS
Many problems appear only inside OBS.
Always test:
- 10–15 minutes
- while recording or streaming
- with alerts and overlays active
👉 Supporting read: vtuber obs sync issue
OBS Capture Settings for Live2D Models
Best OBS Capture Method
- Use Game Capture if supported
- Otherwise, use Window Capture
- Avoid Display Capture (adds latency)
OBS Canvas vs Output Resolution
- Canvas: 1920×1080
- Output: 1280×720 or 1920×1080 (based on bitrate)
Export Settings for Low-End PCs
If your PC struggles:
- Texture Atlas: 1024×1024
- Physics FPS: 20–30
- Disable unnecessary expressions
- Reduce physics groups
👉 Helpful: vtuber setup low budget
Export Settings for High-End PCs
If you have strong hardware:
- Texture Atlas: 2048–4096
- Physics FPS: 30–45
- Keep physics optimized
- Still avoid unnecessary layers
Even high-end PCs can stutter with bad exports.
Step-by-Step Export Checklist (Before Streaming)
Before exporting your Live2D model:
- ✔ Texture size reviewed
- ✔ Physics FPS optimized
- ✔ Compression enabled
- ✔ Transparent background
- ✔ Model tested in OBS
When Export Settings Are NOT the Problem
If issues persist:
- tracking calibration may be wrong
- lighting may interfere
- OBS bitrate may be misconfigured
👉 Supporting reads:
- vtuber face tracking calibration guide
- vtuber lighting problem
- vtuber bitrate settings for obs
Should You Re-Export or Adjust OBS First?
Rule of thumb:
- Visual lag → export issue
- Audio desync → OBS issue
- Tracking delay → calibration issue
Fix export before touching OBS bitrate.
Final Thoughts
Correct Live2D export settings:
- reduce OBS lag
- stabilize tracking
- preserve visual quality
- prevent dropped frames
Most VTubers blame OBS—but the real issue is usually export configuration.
Fix export once, stream smoothly forever.